What Concrete Leveling Actually Is
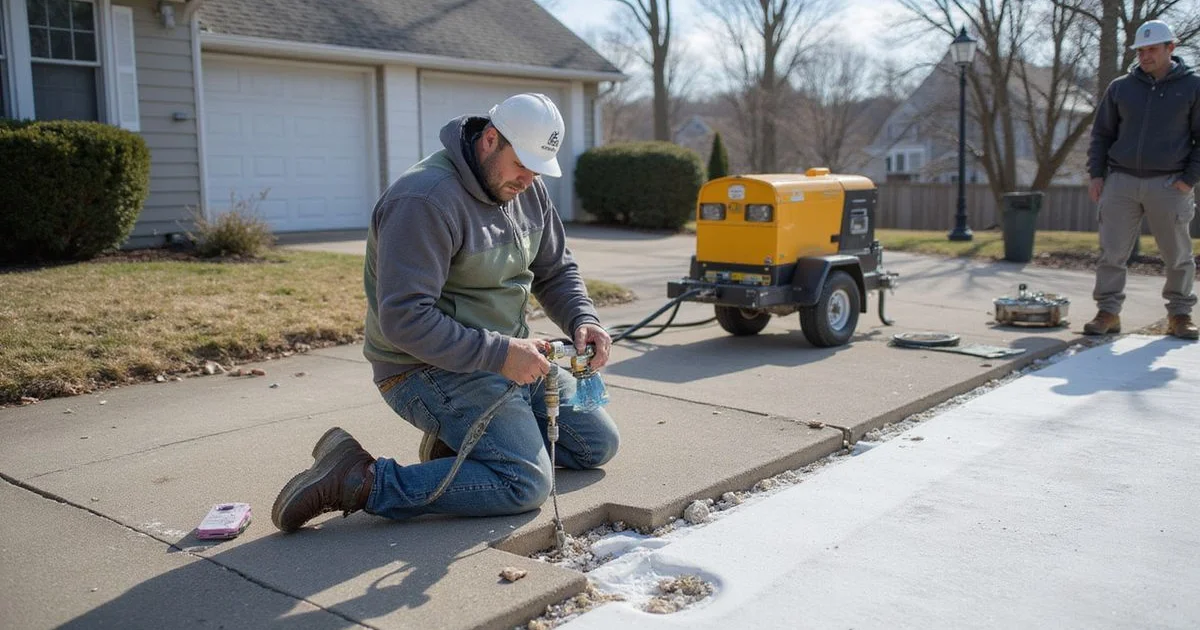
Concrete leveling, sometimes called slabjacking or polyjacking, raises a settled slab back to its original height by injecting expanding polyurethane foam into the empty space underneath it. The concrete itself is never removed. Nothing is jackhammered, nothing is poured, and nothing leaves your property in a dumpster.
This guide walks the whole process from the first inspection to driving on the slab, so you know what a crew will actually do before anyone shows up with a rig. Everything here applies to driveway leveling as much as to garage floors, patios, walkways, and steps. The method doesn’t change with the slab.
The starting condition is always the same: a void. Water has washed the base material out from under the concrete, leaving a cavity, and the slab has dropped into it. That’s the actual problem. A slab that has settled has usually not failed structurally. It has simply lost what was holding it up.
The one thing to remember
Lifting the concrete without filling the void just resets the clock. The fill is the fix; the lift is the visible part.
The Process, Step by Step
1. Inspection and measurement. Before anything is drilled, the settlement gets measured against a fixed reference, usually the adjacent slab or the foundation line. The crew probes to work out where voids sit and how deep they run, and checks whether the concrete itself is sound enough to take a lift. Crumbled or fully cracked-through concrete can’t be raised, and that’s the moment to hear it.
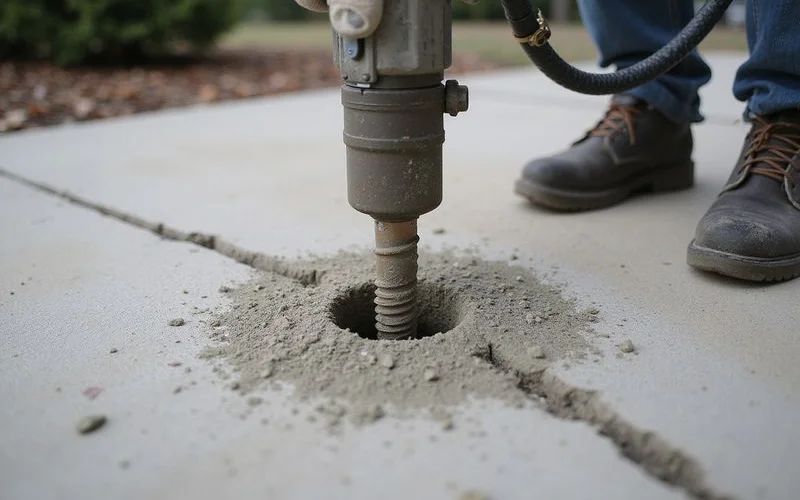
2. Port drilling. Ports of roughly 5/8 of an inch go in through the slab, spaced to reach the whole cavity. Placement isn’t arbitrary. On a driveway apron the ports follow the drop line; on a stepped garage section they bracket the joint so both sides can be controlled.
3. Injection. Two-part polyurethane is pumped through a gun where the components meet and immediately begin reacting. The mixture flows into the void as a liquid, then expands as the reaction generates heat and gas. That expansion does two jobs in sequence: it fills the cavity, then it starts pushing against the underside of the slab.
4. The lift. Once the void is packed, continued expansion raises the concrete. This is where a good crew separates itself from a fast one. Injection runs in stages, moving between ports, with the slab checked against a level after each pass. Height is only half of it. The pitch has to come out right too, so water runs away from the house rather than toward it.
5. Cure, patch, and clean up. The foam reaches working strength in around 15 minutes. Ports get patched to match the surrounding concrete, the site is swept, and the rig goes back on the truck. There is no spoil pile, no material stockpile, and no second visit for debris.
Why Foam Instead of Slurry
The older method, mudjacking, pumps a heavy cement-and-soil slurry through much larger holes. It works, and it has for decades. But it brings three trade-offs that matter in Connecticut: bigger surface scars, a much longer cure, and considerable added weight on soil that has already demonstrated it can’t hold what’s on it.
Closed-cell polyurethane weighs a small fraction of slurry, cures in minutes, and doesn’t absorb water, which is the property that matters most where freeze-thaw drives the whole problem. Polyurethane foam vs mudjacking puts the two side by side in detail.
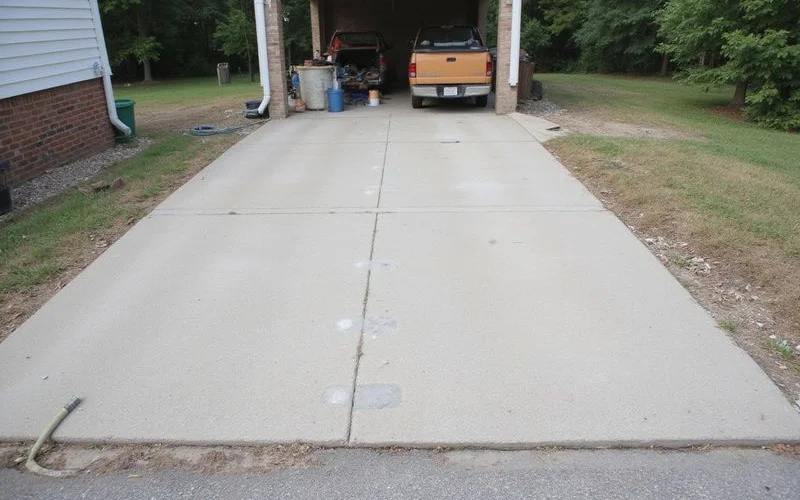
The practical difference on the day is disruption. A polyurethane job on a typical residential driveway is a few hours, a handful of patched dots, and a slab you park on that evening. A tear-out and repour is an excavator, a dumpster, a week of downtime, and a bill several times larger.
Whether that’s the right call for your slab depends on the concrete’s condition, not on the method. Sound concrete that has settled is a lift. Concrete that has failed is a replacement, and no amount of foam changes that.